
As promised, did another tutorial on how to use Pachube output to control Arduino. In this case, the brightness of the LED (in pin 9) will be determined by the realtime electricity demand/frequency in the UK. Every 5sec the data will be streaming in to the arduino. Before that here is the simple set up:
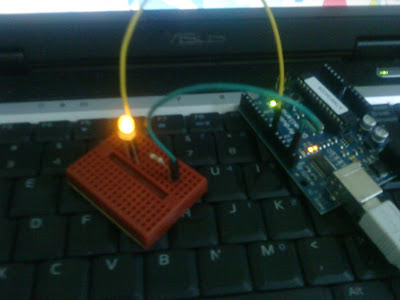
Make a simple circuit of LED(pin9) with transistor.

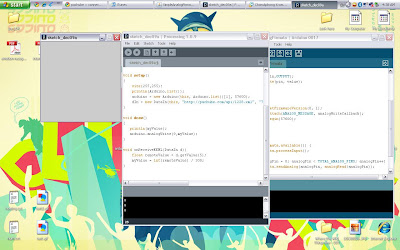
Open up your Processing and paste the code in.
Then the brightness of the LED can be control by the mouse-x value
in the grey window. (arrow there)

As i drag the mouse around, different value are detected and
the LED will blink accordingly. Higher, lower value. Lower, higher value.
After testing out and everything working fine, time to use Pachube output to control the LED:

The feed of UK realtime electricity supply.


As you can see from the Processing, it track the value right now
is 165. So the LED brightness is now the value of 165 too.
Now i change the output to frequency of the electricity:
Frequency is much lower than the demand,
which is 40+.

So the LED light dim accordingly.
This is how real time data affect the physical space.
:)
*Probably need 2 Arduino board for my installation. One to input, another to output.


3 comments:
well done.
excellent, you are the next one for the coming sharing session.
> Thx khai and Kokyong!
> The coming sharing session is next Tuesday? I can prepare anything to share or pachube?
Post a Comment